The code chunks in this post were updated on Jul 22, 2024 to use magick instead of convert as per ImageMagick v7
The Task
I’m a very visual thinker, and I often create diagrams, concept maps and “graphical abstracts”1 to think through. Depending on what’s available I might sketch my ideas with pen and paper, on a whiteboard, or using my iPad. With a bit of polish and editing (often using my iPad), I can also use my drawings to communicate my research ideas – i.e. including them in presentations or even journal papers. However, getting my drawings into my documents has always been a bit of a clunky process that goes something like:
- Make and polish the drawing. On iPad, I generally use Notability for quick sketches, and Concepts for polishing illustrations.
- Export or Scan drawing to image file. Ideally, I’d like to scan/export to
pngfiles with a sensible naming convention, but sometimes onlypdfis possible (e.g. when I’ve got multiple pages of sketches). - Edit the image file for inclusion. This includes extracting
pdfpages as separatepngfiles, cropping, making the background transparent.
That last step is by far the most tedious. Luckily for me, tedium usually means there’s an opportunity for automation! This post documents a few ImageMagick command line tricks for wrangling image files I use to reduce the friction between creating drawings (fun) and plugging them into my Quarto documents via markdown image links2 (boring!).
Install ImageMagick
TL;DR: ImageMagick is cool tool that you can use via the command line. Here’s a description from the official website imagemagick.org:
ImageMagick® is a free, open-source software suite, used for editing and manipulating digital images. It can be used to create, edit, compose, or convert bitmap images, and supports a wide range of file formats, including JPEG, PNG, GIF, TIFF, and PDF.
If you are on macOS, you can install imagemagick using homebrew:
brew install imagemagickThe Magick Commands
The next two sections give you commands to take two drawing files, diagram_panel-map-sandwich-maker.png and sketch_tidydata.pdf and generate cropped, transparent background images, all of which can be found in the source directory for this blog post (i.e. on GitHub):
.
├── images
│   ├*─ diagram_panel-map-sandwich-maker.png
│   ├── diagram_panel-map-sandwich-maker_trim-trans.png
│   ├── diagram_panel-map-sandwich-maker_trimmed.png
│   ├*─ sketch_tidydata.pdf
│   ├── sketch_tidydata-00.png
│   ├── sketch_tidydata-01.png
│   ├── transp_sketch_tidydata-00.png
│   └── transp_sketch_tidydata-01.png
└── index.qmd
Single page vector drawings (png)
Let’s start with a single page export diagram_panel-map-sandwich-maker.png from Notability:
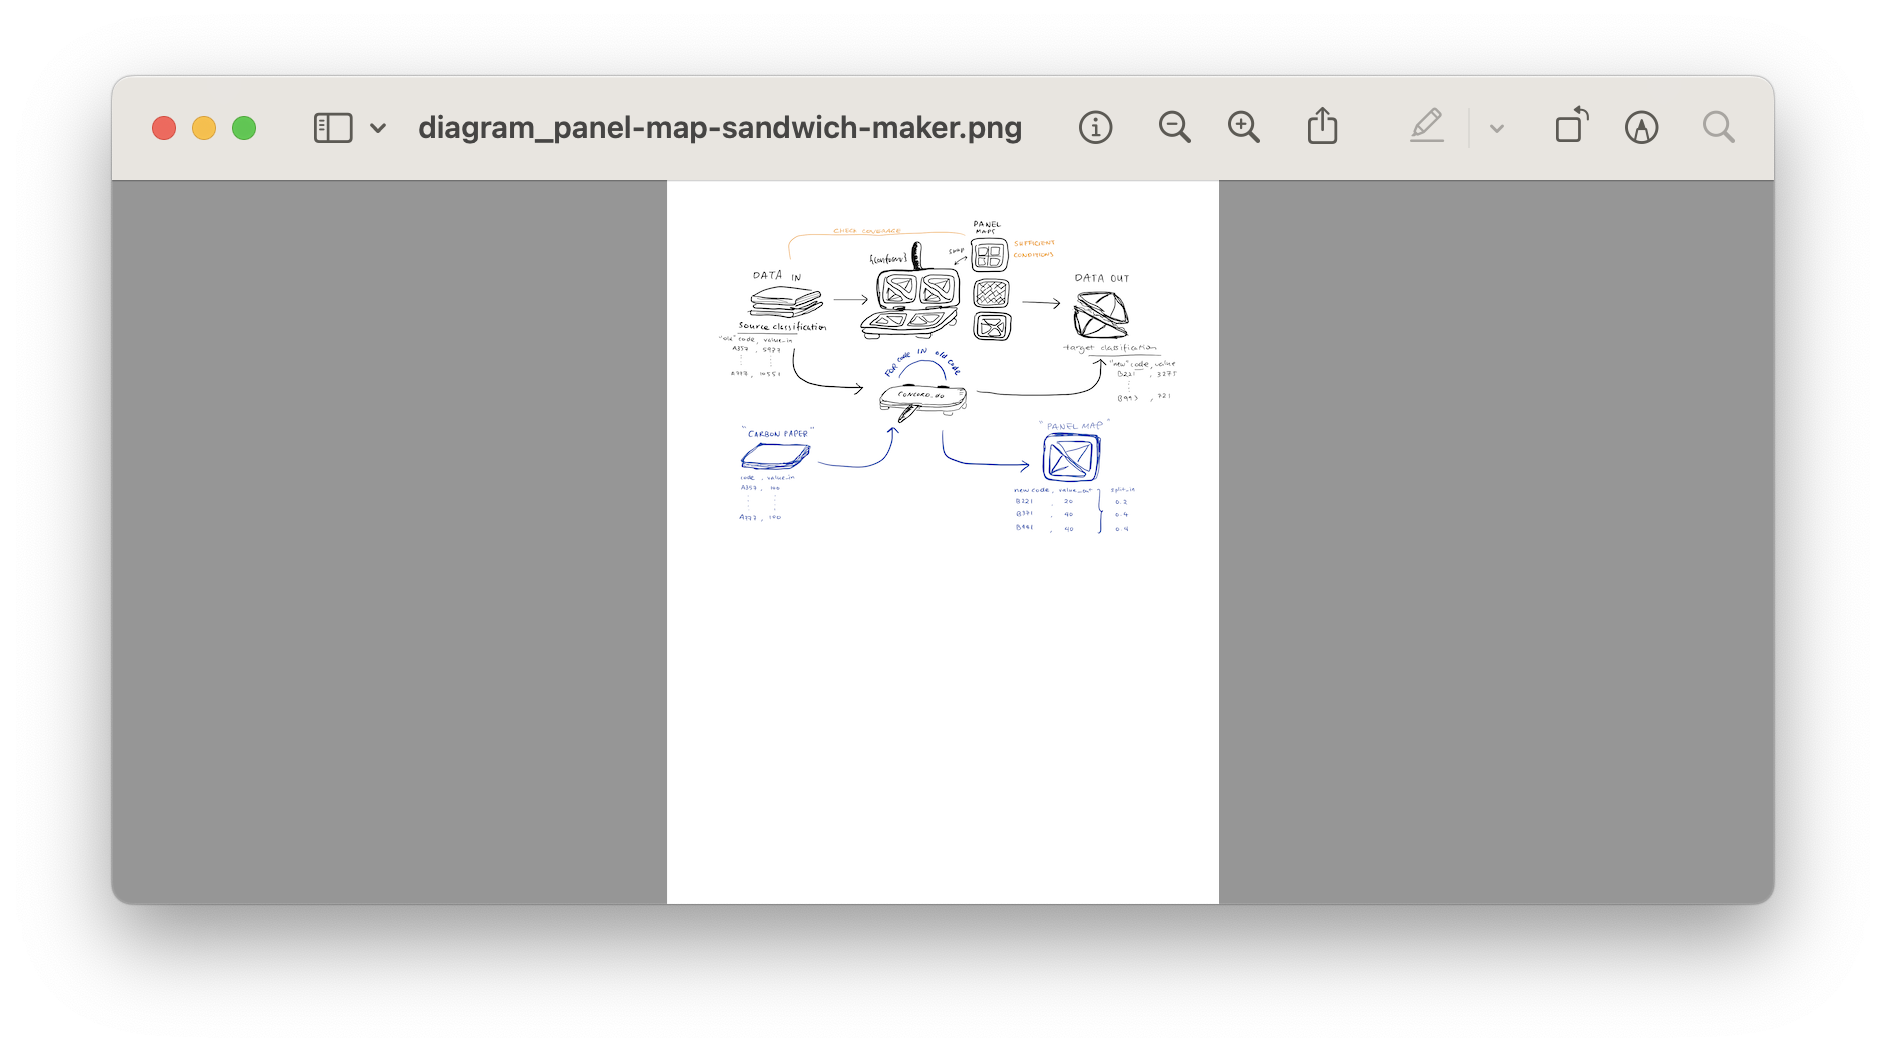
Notice that there’s a lot of whitespace underneath my sketch because the page size is fixed (usually to A4 or letter depending on your in-app settings). Let’s get rid of the extra whitespace (using -trim) and turn background transparent (using -transparent):
filename="diagram_panel-map-sandwich-maker"zsh: ~/.../images
magick ${filename}.png -trim -transparent white ${filename}_trim-trans.pngThis gives us a tightly cropped image with a transparent background (which is only apparent when I make the webpage background red):
![]()
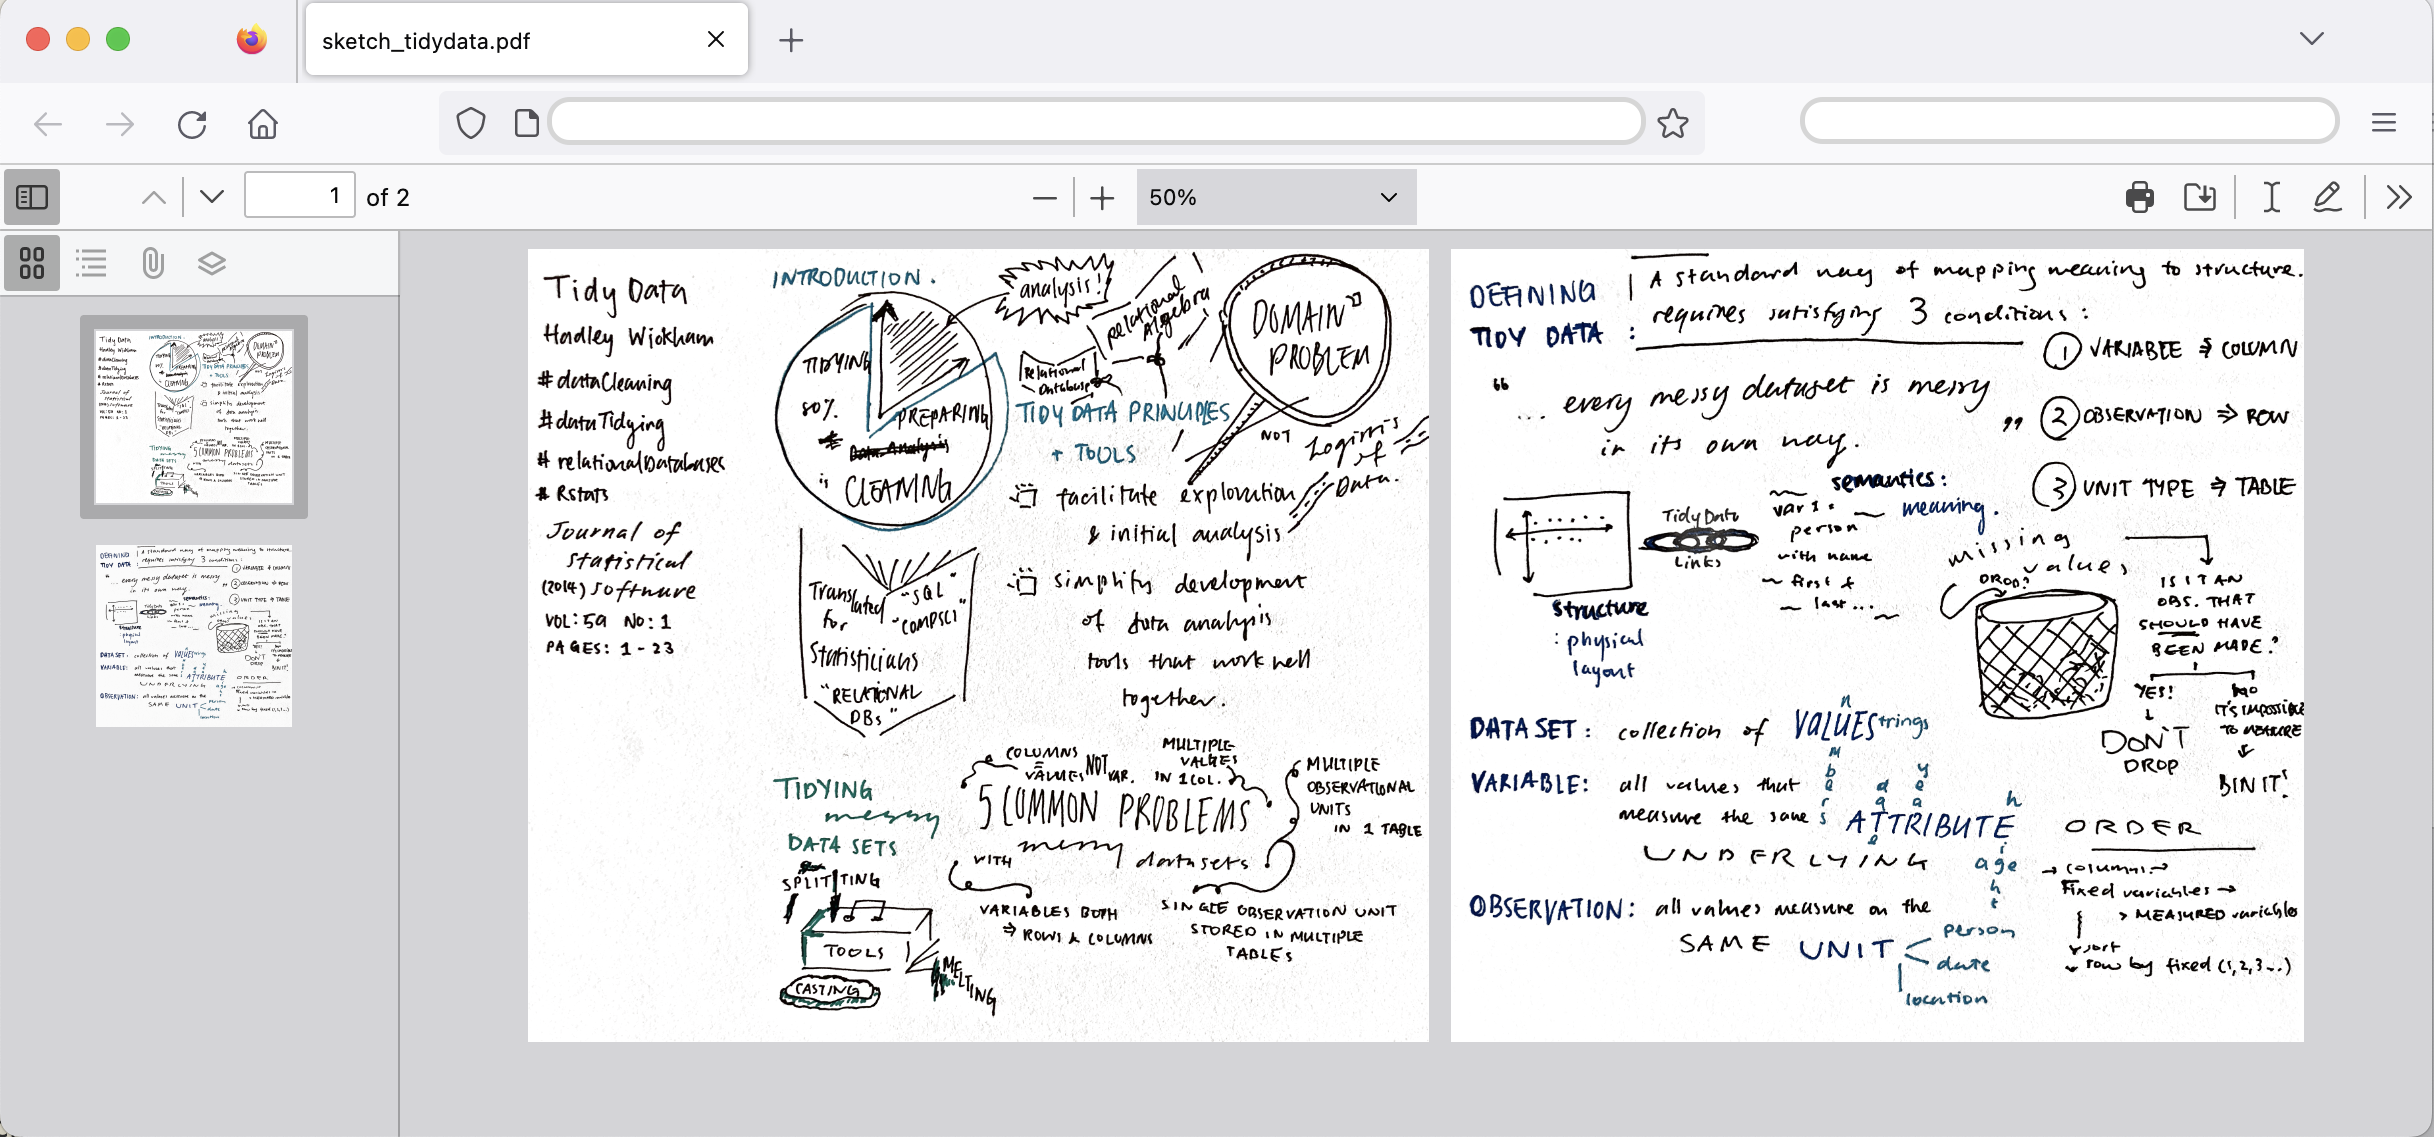
Multi-page sketches (pdf)
Sometimes before you can trim your pages, you might need to extract them from a file like sketch_tidydata.pdf:
Here’s the command to extract each page as a separate png file:
filename="sketch_tidydata"zsh: ~/.../images
magick -quality 100 -density 200 ${filename}.pdf ${filename}-%02d.pngWe include the two resulting files here using the R code chunk trick for generating inline image links that I wrote about in this previous blog post:
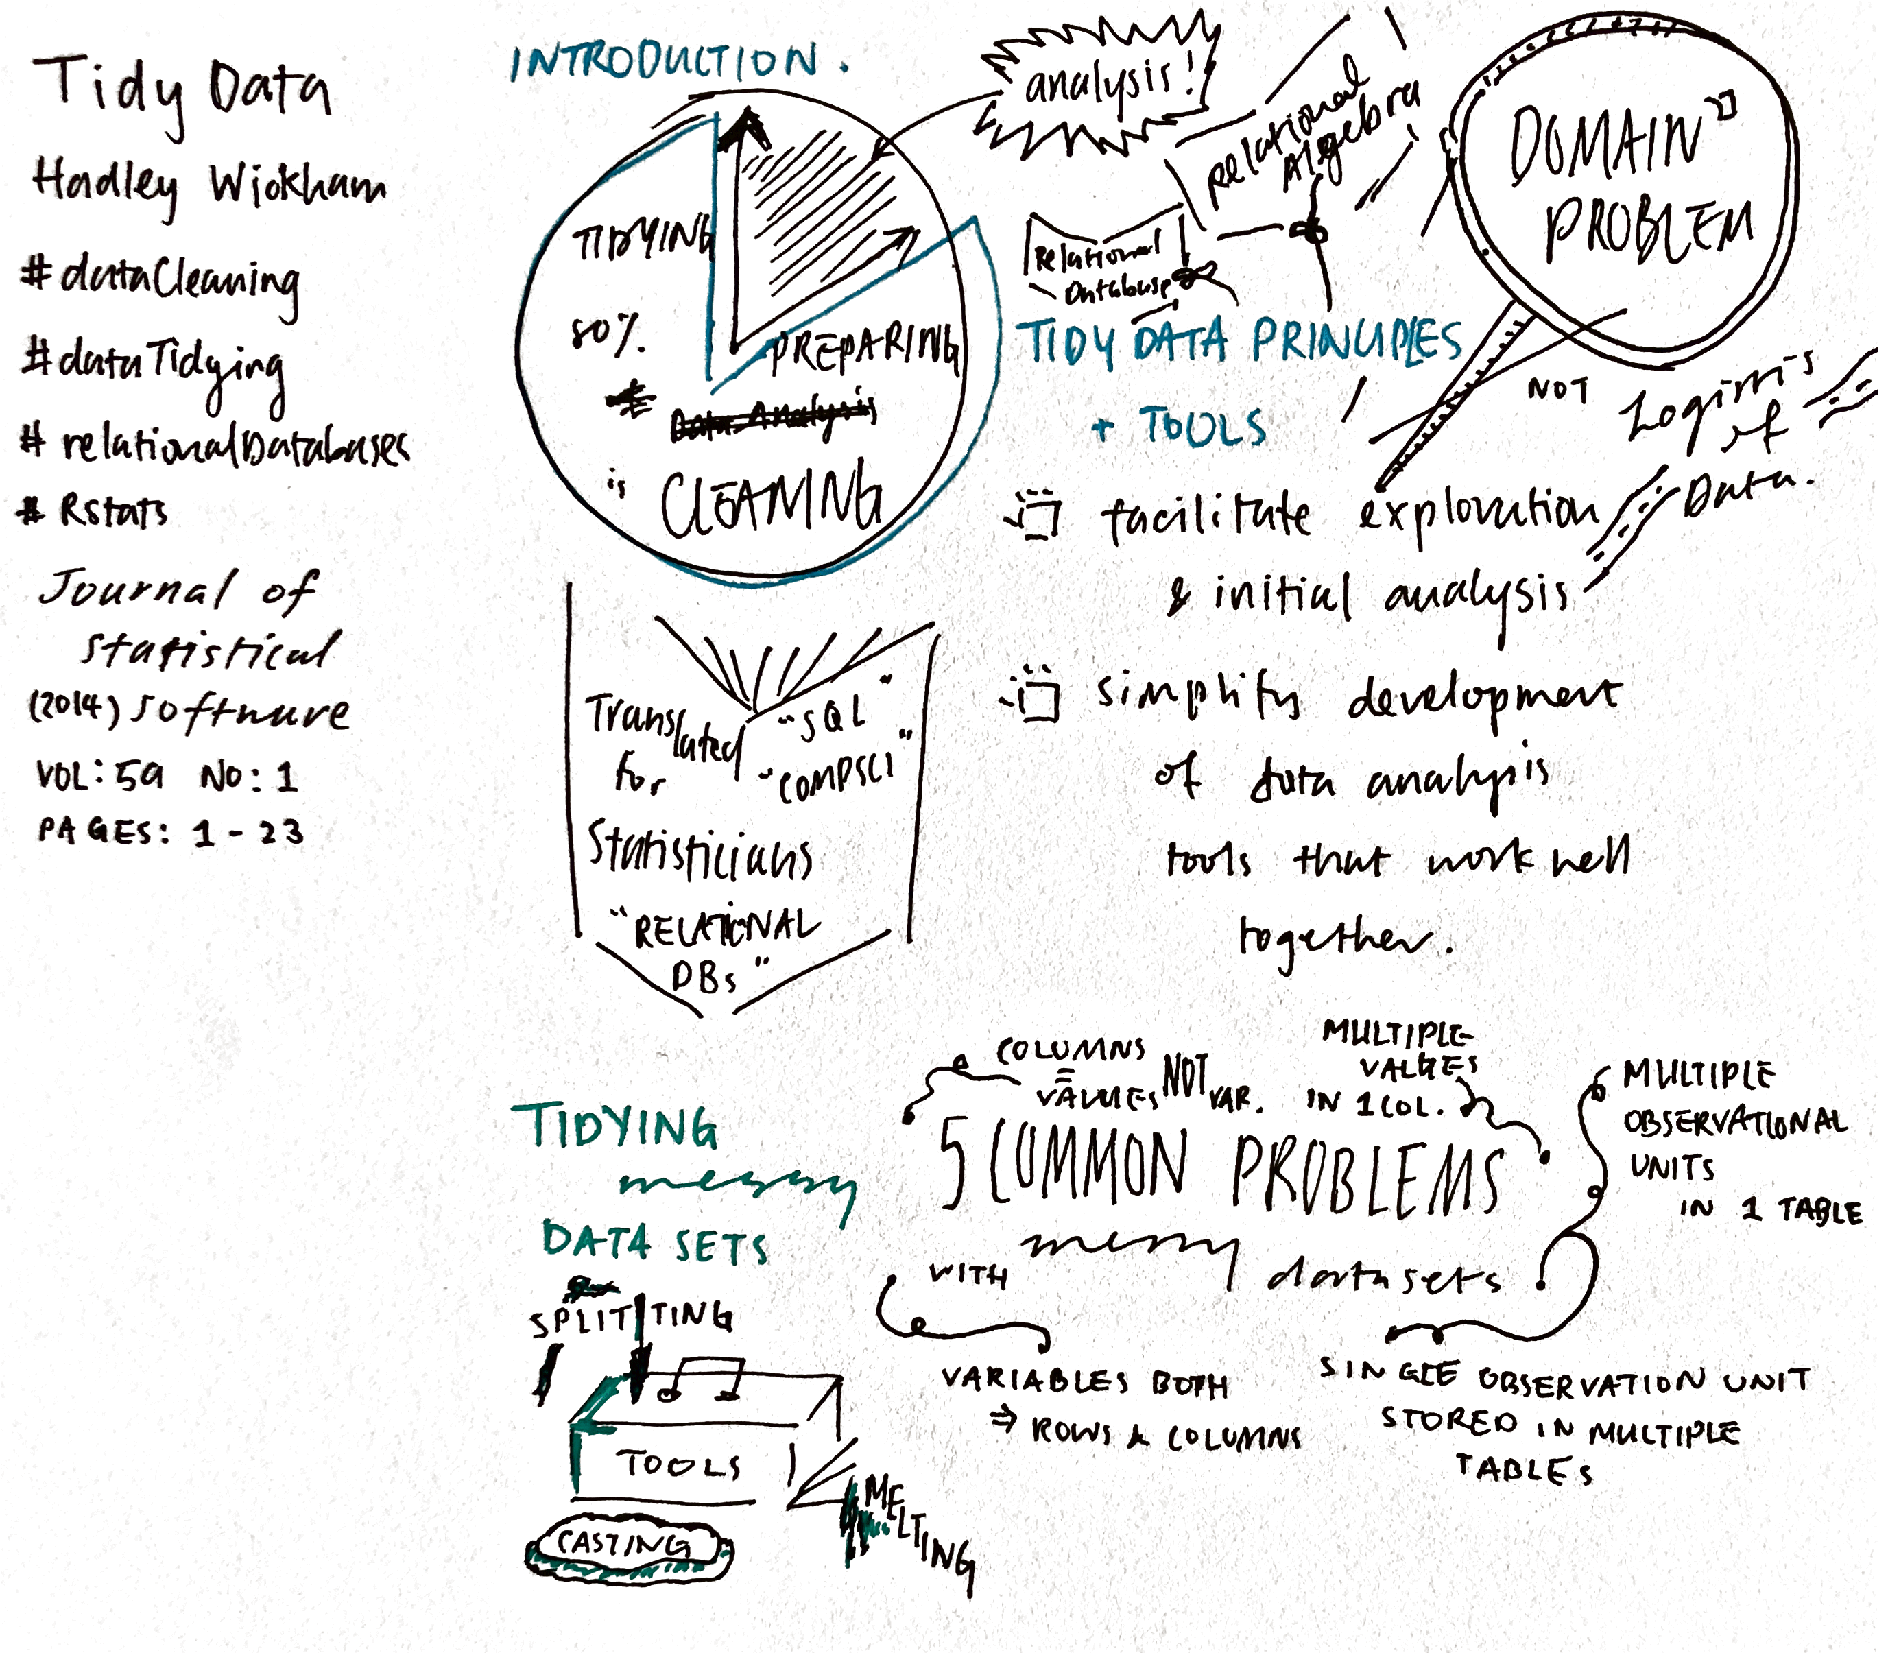

The two images were already trimmed, but what if we wanted to make the background transparent like this:
![]()
![]()
We could use a loop to achieve this:
zsh: ~/.../images
for filepath in $(ls sketch*.png);
do
  filename=${filepath:r}
  magick ${filename}.png -fuzz 20% -transparent white transp_${filename}.png;
done
Notes & Extensions
Single vector page
- The
-transparentflag turns any pixels that match the argument colour (e.g.white) and makes them transparent. If your background colour is notwhiteyou can replace the argument with the hexcode of the colour you want to make transparent.3 - If you want padding around your image, you can always add it back using the relevant options for your document output format (e.g. CSS or LaTex figure options)
Multi-page pdf
- The
-fuzzflag specifies a distance around your target colour within which colours are considered equal. This is handy for scanned sketches that have a “white” background that only slightly differs from the target colour given to the-transparentflag.4 - If you search “how to split up a pdf using ImageMagick”, you might come across commands that include the
-flattenflag. Don’t include this flag when using newer versions ImageMagick since it will just flatten all the pages onto into a single output image.5
Footnotes
According to Wikipedia, graphical abstracts are graphics used to summarise major results or key ideas of a paper – i.e. a visual equivalent of a written abstract.↩︎
This is an inline image link:
↩︎See https://stackoverflow.com/questions/12424018/how-to-replace-white-background-color-with-transparent-of-an-image-in-imagemagic/12434319#12434319↩︎
See https://github.com/ImageMagick/ImageMagick/discussions/6294↩︎
Citation
@online{huang2024,
  author = {Huang, Cynthia},
  title = {Automating Basic Image Edits with {ImageMagick}},
  date = {2024-02-04},
  url = {https://www.cynthiahqy.com/posts/imagemagick-basic-trim/},
  langid = {en}
}